Quick guide to take a perfect screenshot in windows 10
These all the techniques I used to take eye-catching screenshots in windows 10 for my blog.

Taking a perfect screenshot can add so much value to the thing you are explaining; isn’t it ?
`So let me teach you 3 professional ways to take great screenshots in windows 10.
If you are sitting in the office and need a good professional screenshot for your co worker or tech support to help you with better understandings then you are on the right page keep on reading.
3 Ways Take Screenshots in Windows 10
We will start by the easiest way which can take a high resolution screenshot with just a single key pressed on the keyboard.
1- Print Screen Button sometime written ( PrtScn ) on the key.
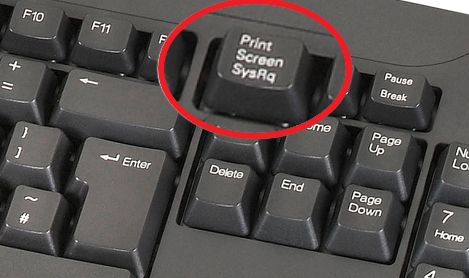
If you want to capture your full screen, press the Print Screen Button from your PC keyboard, if you are on a laptop you might find a button with this label ( PrtScn ).
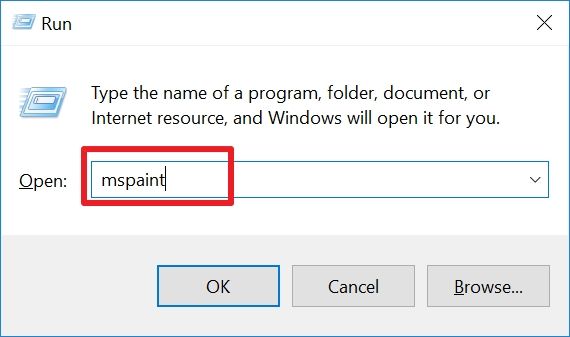
Once you press the Print Screen button it will take a screenshot of you entire screen and saved to the clipboard and to save this screenshot in a file you need to use a built-in program called Microsoft Paint.
Open the run menu ( Windows Key + R ) and type the shortcut command “mspaint” hit Enter.
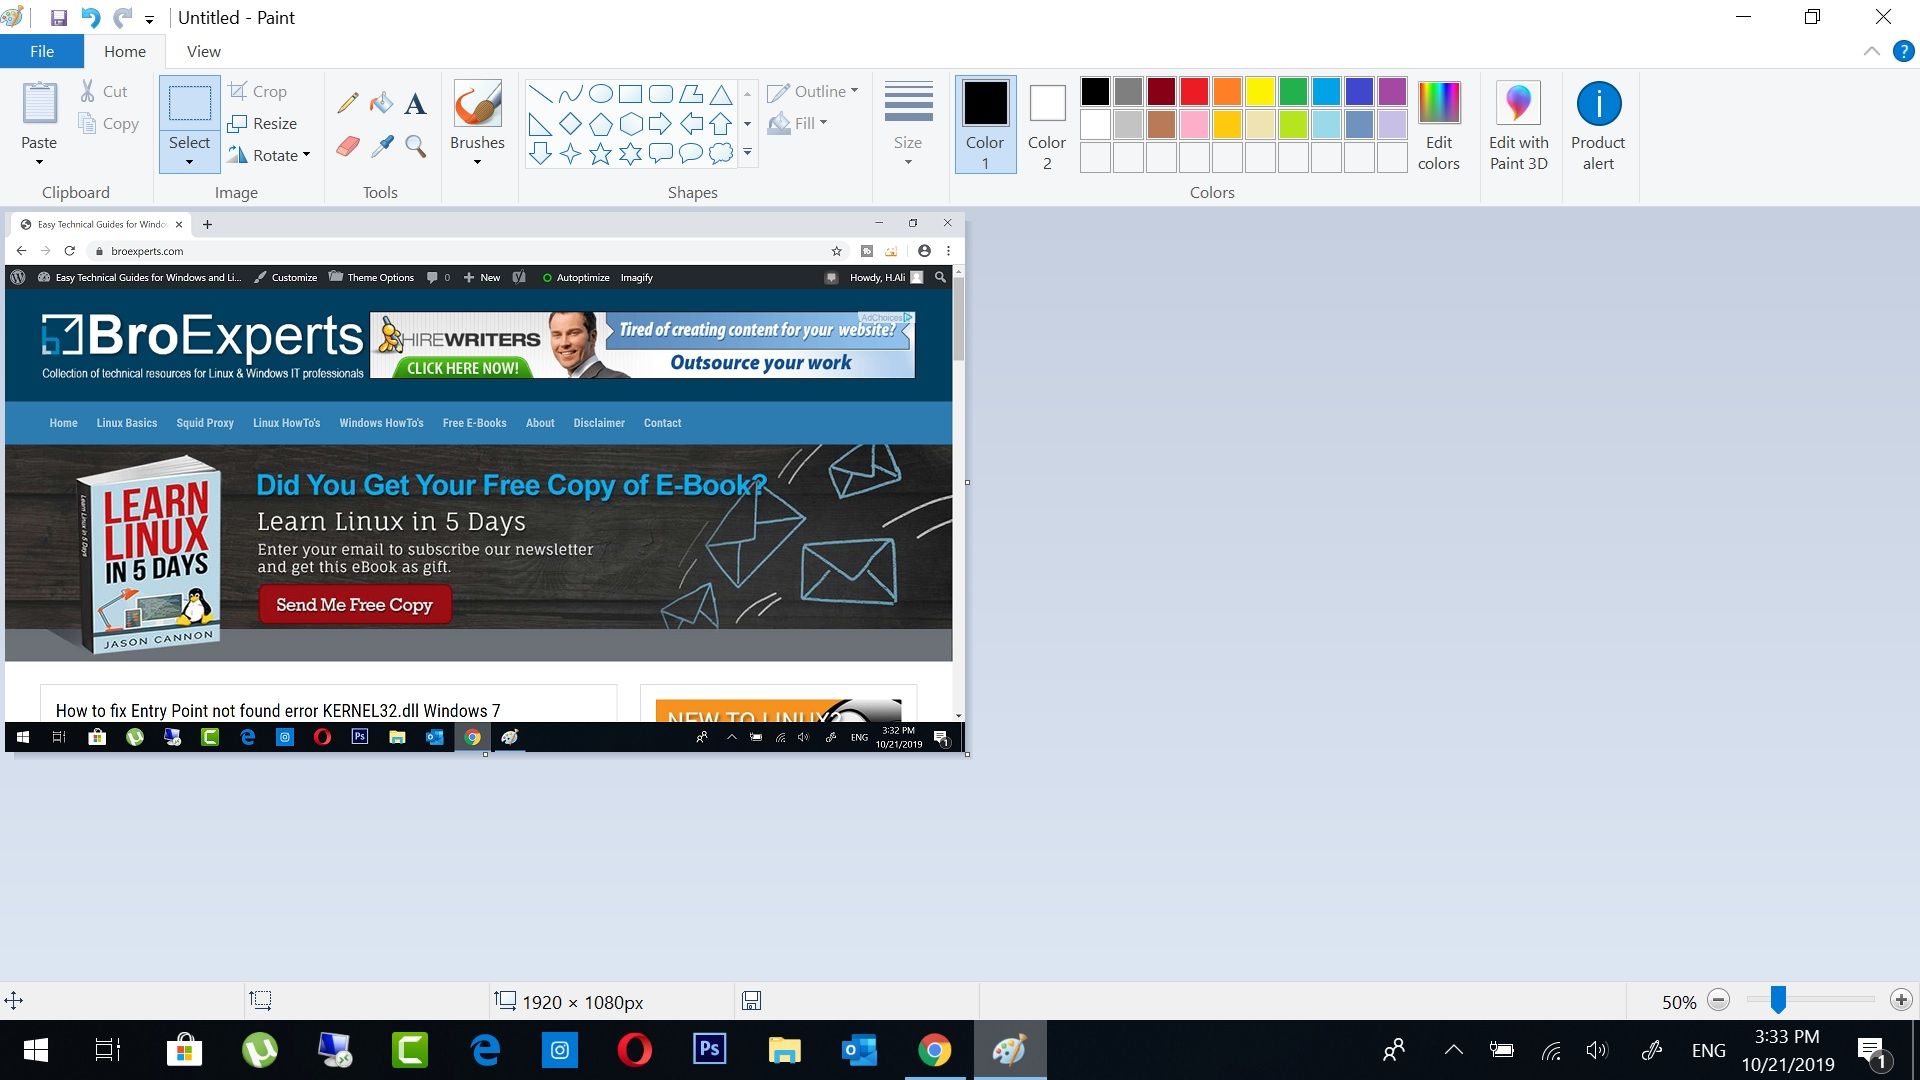
It will open the Microsoft paint and you can paste your captured screenshot in the program by just using a simple paste ( Ctrl + V ) Command and click on File > Save As to save file on your computer.
2- Take a Professional Screenshot in windows 10 with PicPick
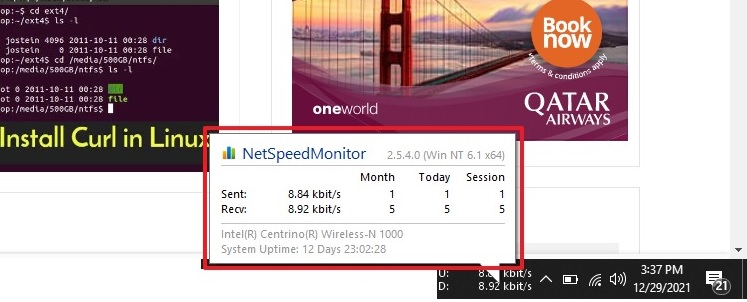
PicPick is a great tool which I personally use for taking screenshots for my website BroExperts.com

This tool is specifically designed for adding some creativity in the screenshot you can add shapes, text, and graphics and much more.
You can download Picpick from Here
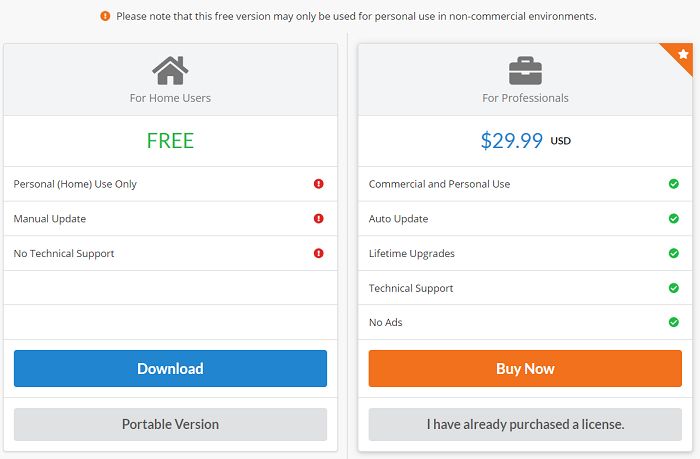
Picpick also offer the free and paid version you can check below the features available with both options.
Once you download run the setup and install it with pretty self explanatory setup you will end up with finish screen click on “Run Picpick” and click “Finish”
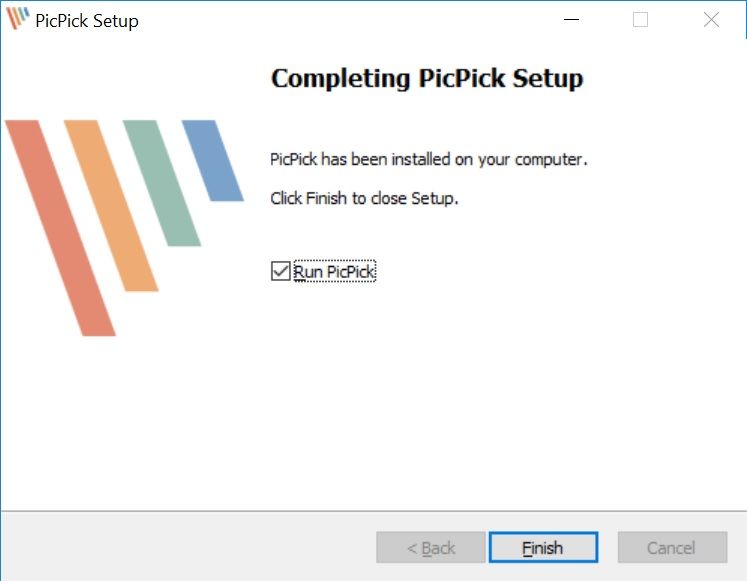
That’s all with the installation now it’s ready to rock.
Take screenshot with Picpick
To take a screenshot you just need to press the “Print Screen” Button and it will open the screenshot directly in the picpick program where you can edit your screenshot and save it as a file.
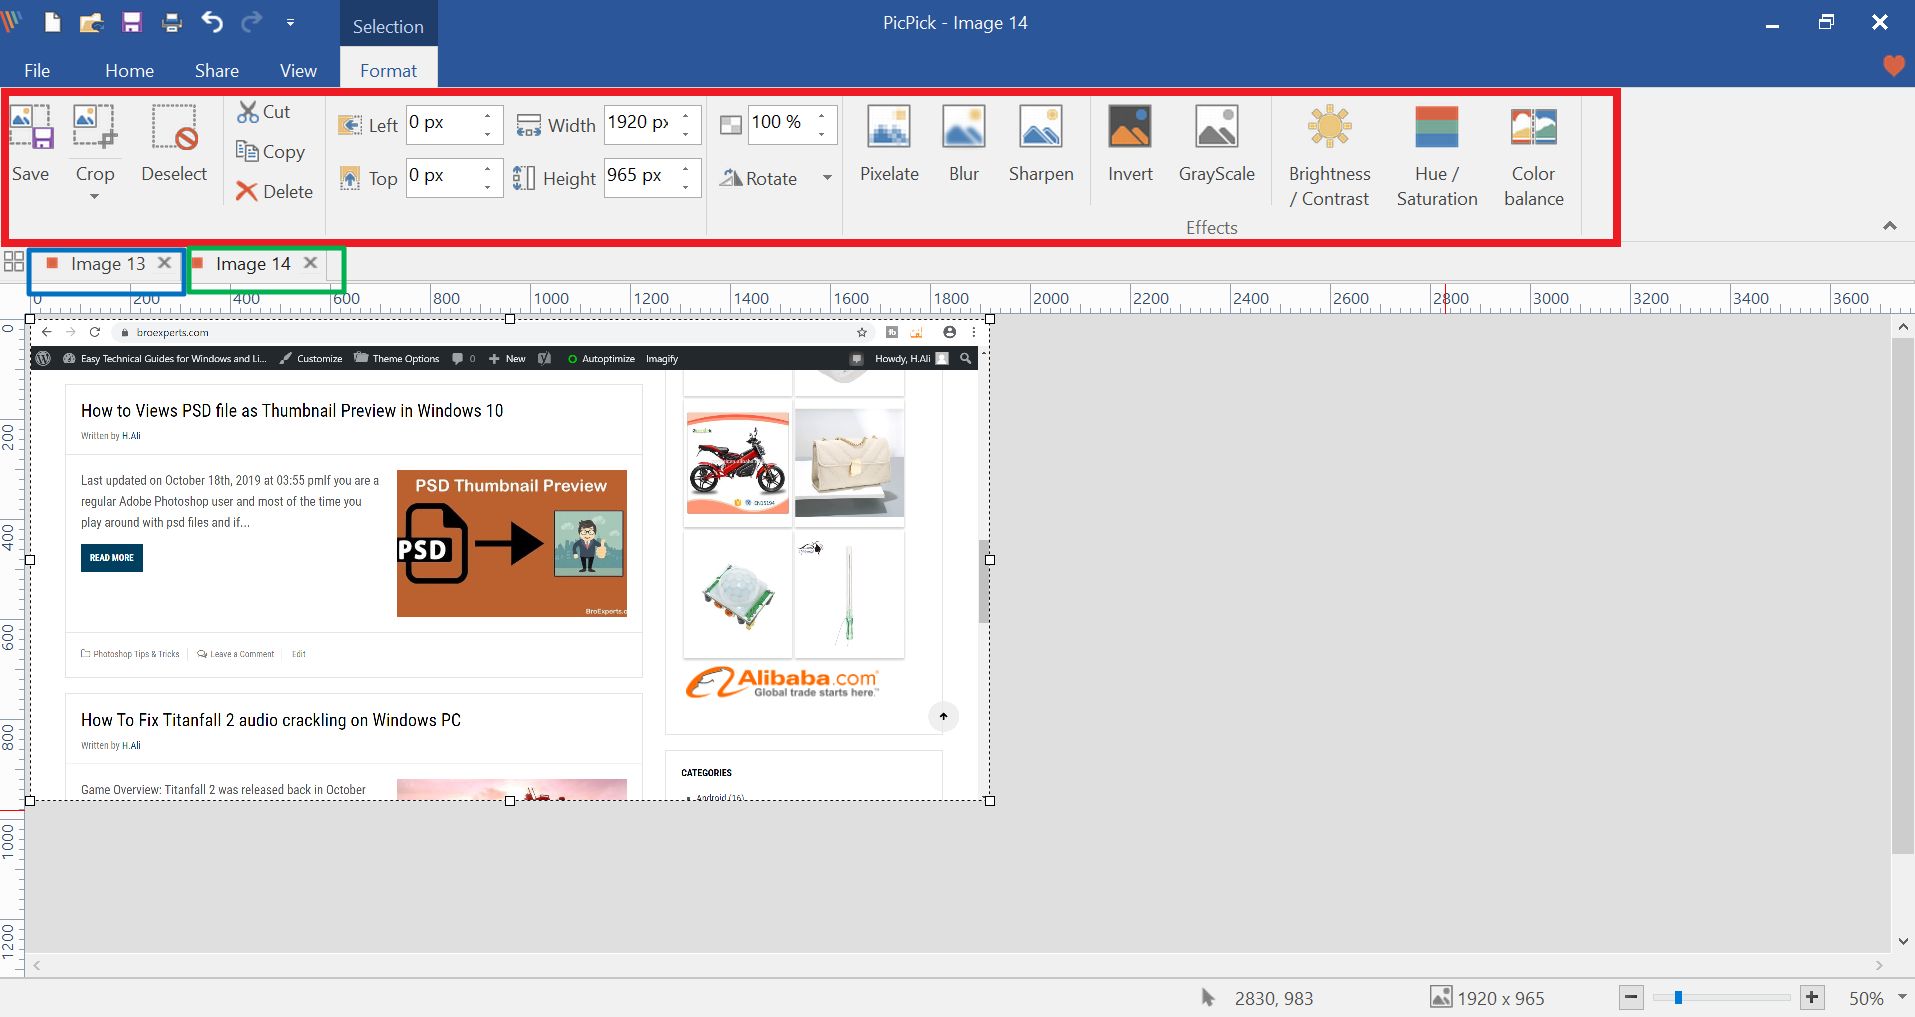
You can see the toolbar on the top Home, Share, View and Format you can explore these options to know more about this this handy tool.
Here are some key features of Picpick:
- Take Screenshot of everything
- Edit and enhance image with special effects
- Save and share via email, ftp, DropBox, FB and Twitter.
- Virtual Whiteboard on your desktop.
- Capture scrolling window, Active windows and Region.
I would recommend you download Picpick and explore its different options.
If you want to produce attractive and better to understand screenshot you should give a try to this handy professional screenshot tool.
3- Windows Snipping Tool.

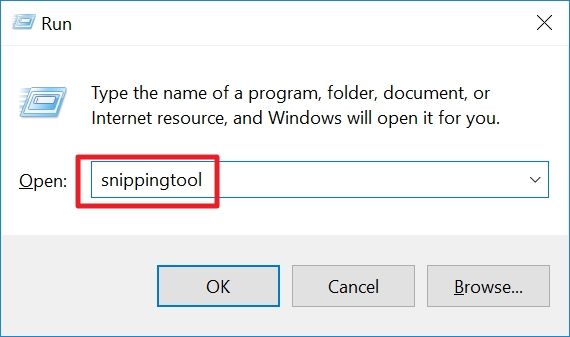
Windows Snipping Tool was launched back in Windows Vista it is very easy to use all you have to do Open the run menu ( Windows Key + R ) and type “snippingtool” and hit the enter button.
The below Snipping Tool screen will appear, to start taking screenshots you need to click on Mode and then choose “Rectangular Snip”

Once you select the “Rectangular Snip” you will see the whole screen got fade and with the help of mouse i dragged and created a highlighted rectangle to choose the part of my screen for screenshot.
This is how “Rectangle Snip” work which is most often used, once you choose the part of screen area to capture you will see the screenshot will be opened in snipping tool so you can edit and save as file.

You can capture all the screen or part of it, write notes, save the snip as a file, or send them as email.
Here are different modes of snips you can capture with snipping tool:
- Free-form snip. You can draw free-form shape around the specific area of your screen.
- Rectangular snip. Drag the mouse pointer around an object to form a rectangle.
- Window snip. Select a window, such as a browser window or dialog box, that you want to take a screenshot.
- Full-screen snip. Take a screenshot of the entire screen.
This is how this great tool works its very handy if you want to capture your screen quickly and send them as email or save as file.
If you think after reading this guide you can now take better screenshots, please do share this guide with friends on Facebook or Twitter.
Let me know if you have any other questions I will be around to answer them.